
Modeling 3D boat :
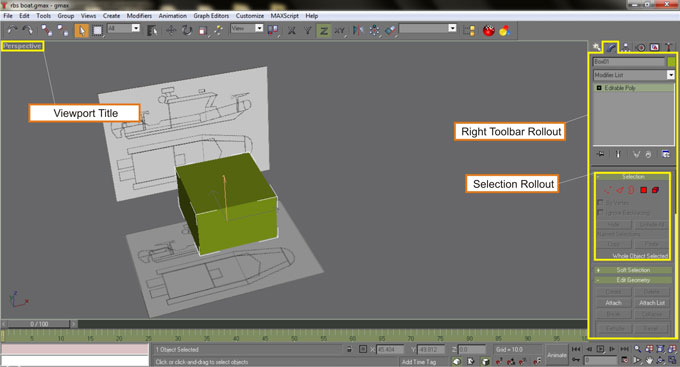
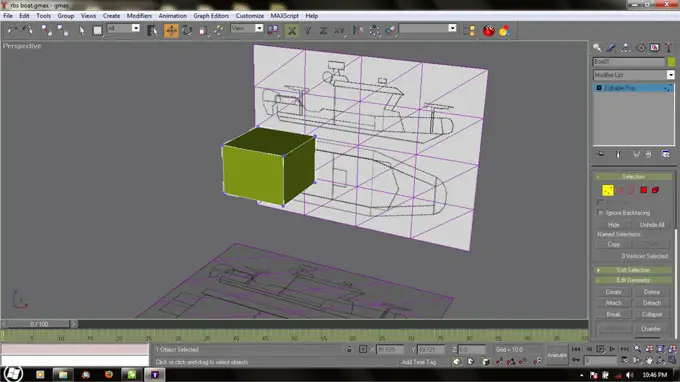
Choose create tab on the right toolbar rollout - standard primitives - and choose Box. Create a box in the middle of the viewport by dragging your mouse and release your left mouse button then move your mouse up to set the box height. Always choose “Select” on the top toolbar after creating an object. Change your box color with green if it’s not in green yet, actually it doesn’t matter what the color is, it’s just to make the box the same as the image on this tutorial, otherwise you may get confused. Don’t forget to save your work again.

Select your box, right click over it - choose Convert to - then choose Convert to Editable Poly. This step is making the box fully editable. Notice the right toolbar rollout is change, now we have “Selection” rollout on the modify tab.

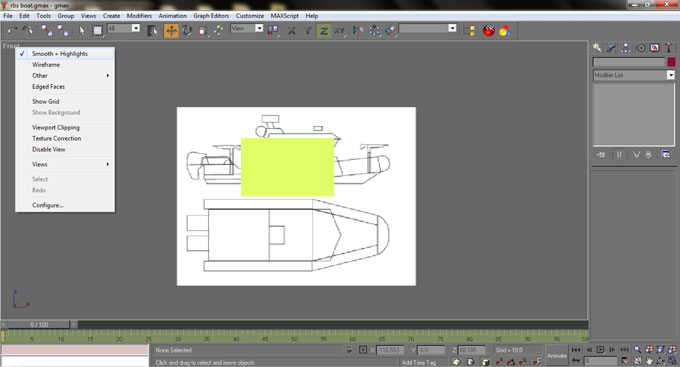
Change your viewport from Perspective into Front view by press F key or by right clicking The perspective Title on the upper left corner of the viewport, then choose Views and choose Front. If your front view is nothing like image below, right click on the viewport title again, then choose Smooth + Highlight, the default setting is Wireframe.
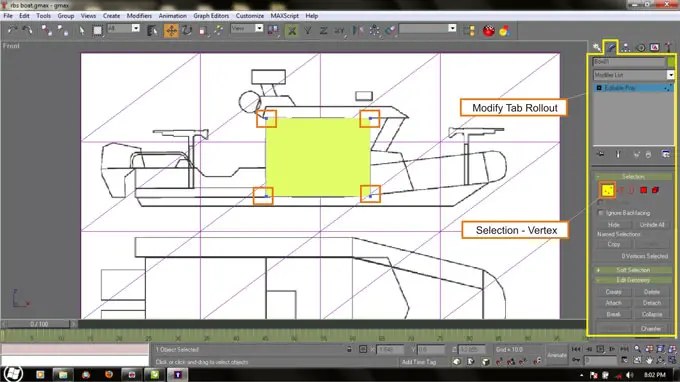
Click F4 to toggle polygonal lines visibility on or off, turn it on. Select the green box and in the modify rollout in Selection rollout choose vertex [3 red dots]. Select each corner and move it to the position shown on the image below as we’re going to build the cabin of the boat. You have to select every corners by dragging your mouse around the blue dot because you need to select actually two vertex, although what you see is only one vertex because both vertex are overlapping.
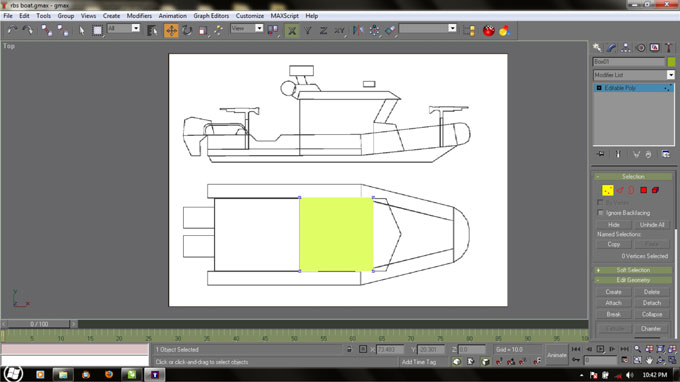
Now change the viewport to the top view, press T key. Do same as the previous work, edit the vertex to match the image below. Now change view into perspective, press P key, Arc Rotate to see what you have done.
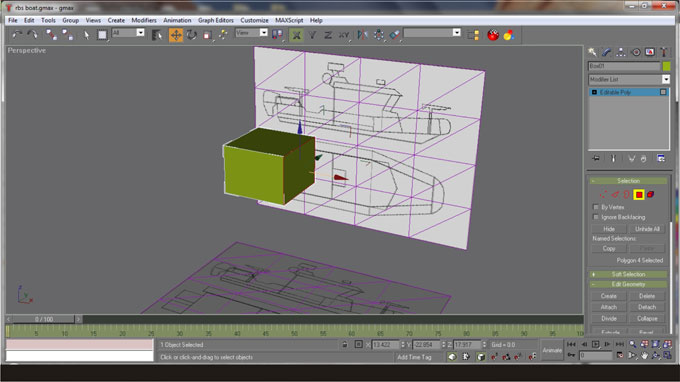
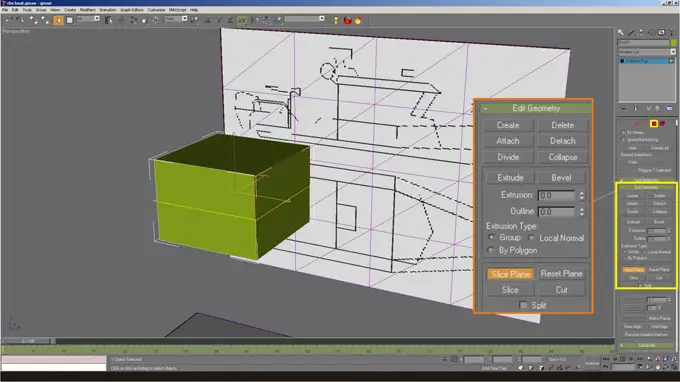
Select Polygon on Modify tab - Selection Rollout. Then select a surface on the box like shown on image below. Scroll down the modify rollout until you find Edit Geometry Rollout, find Slice Plane and click it then click Slice button just below it. Turn off Slice Plane function by click it again, Now you have a split surface on the box.
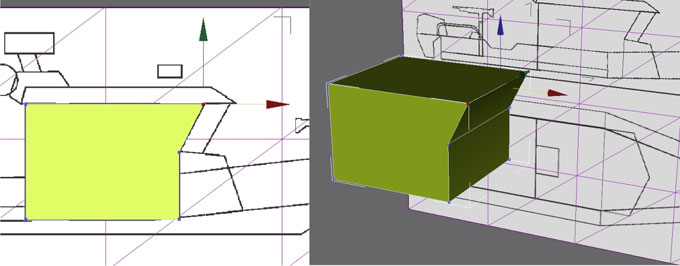
Select vertex edit mode again and adjust the vertex to match the blueprint, you can switch viewport from Front view by pressing F Key and P key for Perspective view.
Click Next in this page to continue